[VIDEO] How To Install Php Debian 11 ~ Here's the explanation

If you are someone who is looking to add a feature-rich cloud-storage solution to your Debian 10 server, OwnCloud is an excellent option. With OwnCloud, you can have complete control of your data and customize it to fit your specific needs. In this article, we will walk you through the steps to install OwnCloud in Debian 10 and explore some of its benefits.
What is OwnCloud?
OwnCloud is an open-source, self-hosted cloud-storage solution that allows users to store and share files, contacts, calendars, and other data with friends, family, or co-workers. By self-hosting OwnCloud, you can have complete control over your data and ensure that your sensitive information is not being shared with third-party services. OwnCloud provides the following features:
- File sharing with password protection and link expiration
- Collaborative editing of office documents
- Calendar and contacts syncing
- Integration with external cloud storage (Dropbox, Google Drive, etc.)
- User and group management
- Two-factor authentication
What are the Benefits of Using OwnCloud?
There are many benefits to using OwnCloud. Unlike some cloud-storage solutions that require you to pay a monthly subscription fee and have limited storage space, OwnCloud allows you to host your own cloud on your own server, giving you complete control over your data. Some of the benefits of using OwnCloud are as follows:
- You own your data, and you have complete control over it
- You can create custom user and group accounts with various permissions
- You can easily share files with password protection and link expiration
- You can collaborate with colleagues by editing the same documents simultaneously
- You can sync your calendar and contacts across all devices
- You can integrate external cloud-storage providers, such as Dropbox or Google Drive
Preparation
Before we start the installation of OwnCloud in Debian 10, we need to ensure that our server is updated with the latest packages and tools. You can update your Debian server with the following command:
sudo apt-get update && sudo apt-get upgradeAdditionally, we need to ensure that our server meets the minimum system requirements for OwnCloud. Please check the official OwnCloud documentation for detailed information on the system requirements. However, the basic system requirement for using OwnCloud is:
- At least 512 MB of RAM
- At least 1 GHz processor
- At least 500 MB free disk space
Installation
Once your server is updated, and you have met the minimum system requirements for OwnCloud, you can proceed to install OwnCloud on your Debian 10 server. Here are the steps for installation:
- Install Apache Web Server
- Install MariaDB Database Server
- Configure MariaDB Database Server
- Log in to MariaDB as root using the following command:
- Set root user's password using the following command:
- Remove anonymous user accounts:
- Disable the remote root login:
- Flush the privileges:
- Exit MariaDB:
- Install PHP and Required Modules
- Download and Extract OwnCloud
- Move OwnCloud Files to Web Server Directory
- Change Ownership of OwnCloud Directory
- Create Virtual Host File for OwnCloud
- Create a virtual host file for OwnCloud:
- Copy and paste the following into the file:
- Enable the virtual host:
- Restart the Web Server
First, we need to install the Apache web server on our Debian server. The Apache web server is the most widely used web server software globally and is an open-source HTTP server for modern operating systems.
sudo apt-get install apache2Next, we need to install a database server. OwnCloud requires a proper database backend to function. In this tutorial, we will be using MariaDB, a popular and robust database management system.
sudo apt-get install mariadb-server mariadb-clientOnce we have installed MariaDB, we need to configure it by setting root user's password, removing anonymous user accounts, and disabling root login remotely.
sudo mysql -u rootUPDATE mysql.user SET plugin = 'mysql_native_password' WHERE user = 'root' AND plugin = 'unix_socket';UPDATE mysql.user SET Password = PASSWORD('yourpassword') WHERE User = 'root';DELETE FROM mysql.user WHERE User='';DELETE FROM mysql.user WHERE User='root' AND Host NOT IN ('localhost', '127.0.0.1', '::1');FLUSH PRIVILEGES;exit;Finally, we need to install PHP and some required modules to run OwnCloud. PHP is a popular, open-source programming language used for web development. To install PHP and required modules, use the following command:
sudo apt-get install php php-common php-mbstring php-xmlrpc php-soap php-gd php-xml php-cli php-zipNow that we have installed all the required components, we can download OwnCloud. You can download it from the official OwnCloud website using the following command:
wget https://download.owncloud.org/community/owncloud-complete-20200904.tar.bz2After you have downloaded OwnCloud, extract it by entering the following command:
tar -xvf owncloud-complete-20200904.tar.bz2
Once you have extracted OwnCloud, you need to move it to the web server directory /var/www/html/. Use the following command to perform this step:
sudo cp -r owncloud /var/www/html/
Next, you need to change the ownership of the OwnCloud directory and files to the Apache user www-data.
sudo chown -R www-data:www-data /var/www/html/owncloud/Now, we need to create a virtual host file for our OwnCloud installation. This file will contain information about our server configuration, such as the server name, document root, and access logs.
sudo nano /etc/apache2/sites-available/owncloud.conf
                <VirtualHost *:80>
                    ServerAdmin webmaster@localhost
                    ServerName owncloud.linuxhowto.net
                    DocumentRoot /var/www/html/owncloud
                    ErrorLog $APACHE_LOG_DIR/error.log
                    CustomLog $APACHE_LOG_DIR/access.log combined
                    <Directory /var/www/html/owncloud>
                        AllowOverride All
                        Require all granted
                    </Directory>
                </VirtualHost>
sudo a2ensite owncloud.confFinally, we need to restart the web server to apply the changes we have made.
sudo systemctl restart apache2Conclusion
In conclusion, we have walked through the steps to install OwnCloud on Debian 10. With OwnCloud, you can have complete control of your data and customize it to fit your specific needs. Not only can you share files with password protection and link expiration, but you can also collaborate by editing the same documents simultaneously, sync your calendar and contacts across all devices, and integrate external cloud-storage providers such as Dropbox or Google Drive. We hope this tutorial helped you in setting up your OwnCloud installation successfully.
If you are looking for How to Install PHP 8 on Debian - Cloudbooklet you've came to the right page. We have 5 Pictures about How To Install Php 8 On Debian - Cloudbooklet like Debian Gnu Linux 11 Bullseye Released, How To Install Debian 11 (bullseye) Server Using Net Install and also Debian Gnu Linux 11 Bullseye Released. Read more:
Debian Gnu Linux 11 Bullseye Released
 www.warp2search.net
debian linux gnu bullseye installer
How To Install Owncloud In Debian 10 � Linuxhowto.net
 www.linuxhowto.net
debian owncloud linuxhowto
How To Install Debian 11 (bullseye) Server Using Net Install
 www.linuxhowto.net
debian bullseye
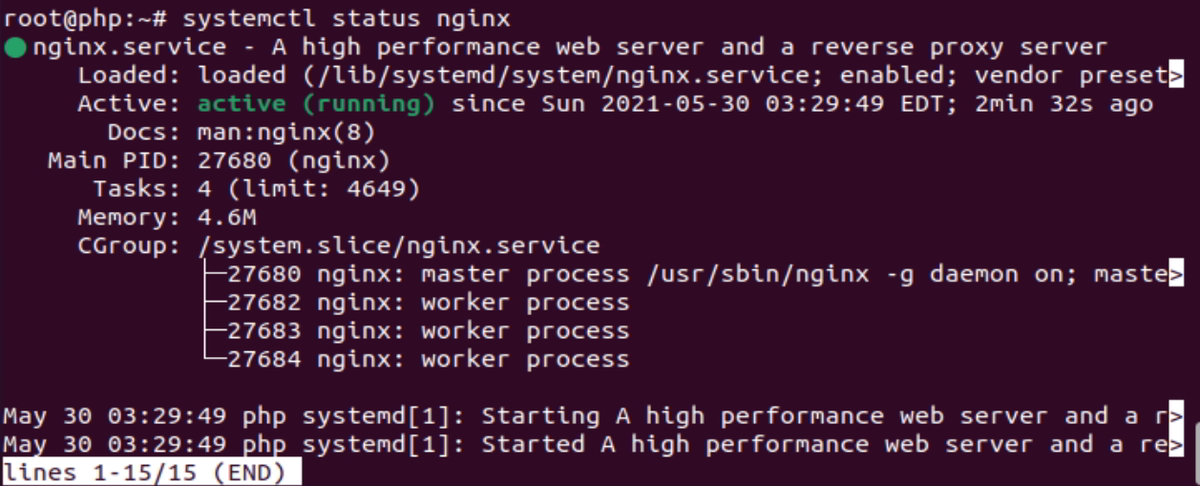
How To Install Php 7.4 On Ubuntu 20.10/20.04/18.04/16.04 | Sysadminxpert
 sysadminxpert.com
systemctl
How to install php 8 on debian. Debian owncloud linuxhowto. How to install debian 11 (bullseye) server using net install
Tags: #How To Install Php 7.4 On Ubuntu 20.10/20.04/18.04/16.04 | Sysadminxpert,#Debian Gnu Linux 11 Bullseye Released, How To Install Debian 11 (bullseye) Server Using Net Install,#How To Install Php 7.4 On Ubuntu 20.10/20.04/18.04/16.04 | Sysadminxpert
Related post:
👉 [VIDEO] How To Fresh Install Windows 10 Keep Files And Apps ~ Complete With Video Content 720p!
👉 [Complete] How To Install Windows 10 Without Key, Here's The Explanation!
👉 How To Find Product Key Of Installed Windows 10, Complete With Video Clips 720p!
👉 How To Install Windows 10 Product Key Activation, Here's The Explanation!
👉 How To Install Windows 10 With Windows 7 Product Key ~ Here's The Explanation!
👉 [FULL] How To Install Php Fpm Debian , Full With Video Clips [HD]
👉 How To Install Php Extensions Windows - Full With Video Clips [720p]
👉 [Complete] How To Install Php Gd Extension , Full With Videos 4K!
👉 [VIDEO] How To Install Php Digitalocean - Here's The Explanation
👉 How To Install Keyboard Driver Windows 10 ~ Here's The Explanation!
👉 How To Install Php Extensions On Ubuntu , See The Explanation!
👉 [FULL] How To Install Php Curl Windows , This Is The Explanation
0 Response to "[VIDEO] How To Install Php Debian 11 ~ Here's the explanation"
Post a Comment